
We recently released SpectaQL 1.0 to the world. One of the major improvements in 1.0 was the addition of a brand new, more customizable theme system. This post is here to show you how to get the most of that theme system, and to generate docs that are exactly as you envisioned.
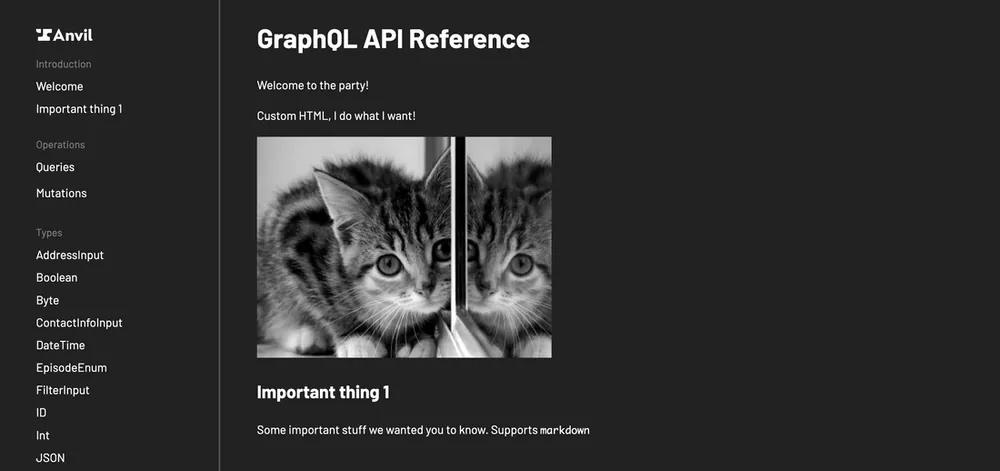
Not sure what SpectaQL is? It's a documentation generator for your GraphQL APIs. Give it a GraphQL endpoint or SDL file, and it will output a single-page static HTML site with your GraphQL documentation. The default theme looks like this:
 SpectaQL generates GraphQL documentation
The new theme system is quite powerful. You can override a single color, or go whole-hog and completely replace all styles and templates. In this post, we'll start simple, then work our way up to more complex customizations. Let's get to it!
Setup
First thing we'll need to do is set up our project to use SpectaQL. Assuming you're using JavaScript / Node, you just need to install it into your dev dependencies:
$ yarn add -D spectaql
# OR
$ npm install --dev spectaql
Next, set up a config. The key config property you need to be aware of for theming is themeDir. Point themeDir to a directory in your project. Your custom theme directory can be anywhere, and it can be empty for now:
spectaql:
  # Use the theme from node_modules
  themeDir: ./docs/my-custom-theme
  # The rest of your config...
See the example config.yml for a full config example.
Great, time to run it! Running spectaql with the -D option will start a development server at localhost:4400:
# View docs with a development server
$ yarn spectaql ./spectaql-config.yml -D
# OR
$ npx spectaql ./spectaql-config.yml -D
As a shortcut, we've created an example node repo using SpectaQL and a custom theme. Feel free to fork it and follow along!
Theme 1: Override styles
Now you're all set up and it's time to do some theming. We'll start with the simplest kind of theme: overriding variables and styles from the default theme. This approach is likely all you will need. Overriding variables and styles can get you quite far even if the theme you envisioned is significantly different than the default theme.
The default theme defines a number of variables that can be overridden in your custom theme. The default theme styling is minimal as well; you can add your flair without rewriting a whole lot, and you'll get the benefit of upstream improvements to the default theme.
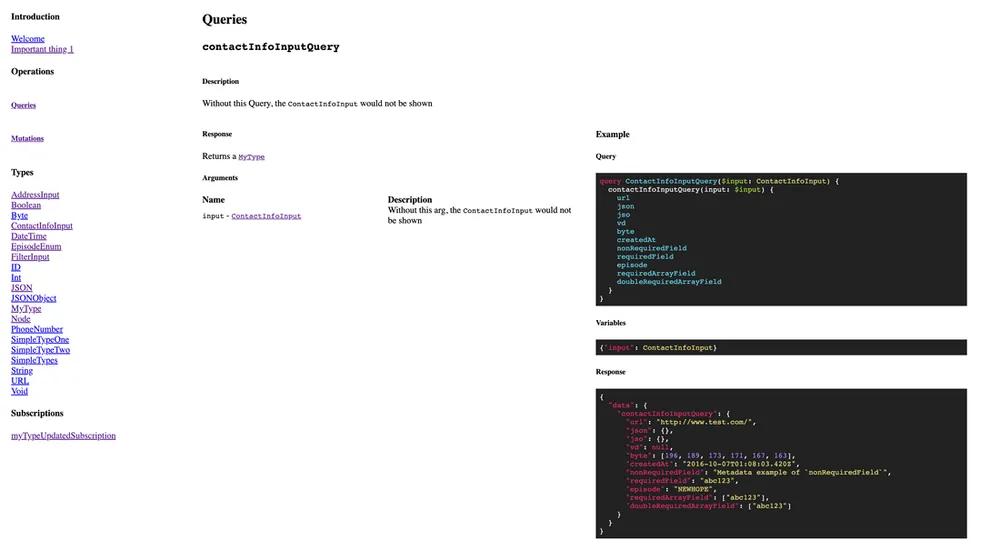
Let's make a dark theme. This is our goal:
 Our goal dark theme
The first thing we'll do is add a stylesheets/custom.scss file to our custom theme's directory. custom.scss is a special file that will be imported by the theme system and will contain all of our overrides. Now your theme's directory structure will look like this:
my-custom-theme/
└── stylesheets/
     └── custom.scss
Next we'll add a few variable overrides. You can see the full list of available variables to override in SpectaQL's custom.scss. We'll pick out a couple obvious ones to get us 99% of the way there:
// custom.scss
$background: #222222;

$text-color: white;
$text-color-subtle: #808080;

$link-color: #66d9ef;
$link-color-hover: #83dced;

$border-color: #565656;
$border-color-subtle: #404040;

$background-code-block-heading: #000000;
$background-code-block: #000000;
$background-arguments: #000000;
We have mostly what we want in only a few lines of SCSS!
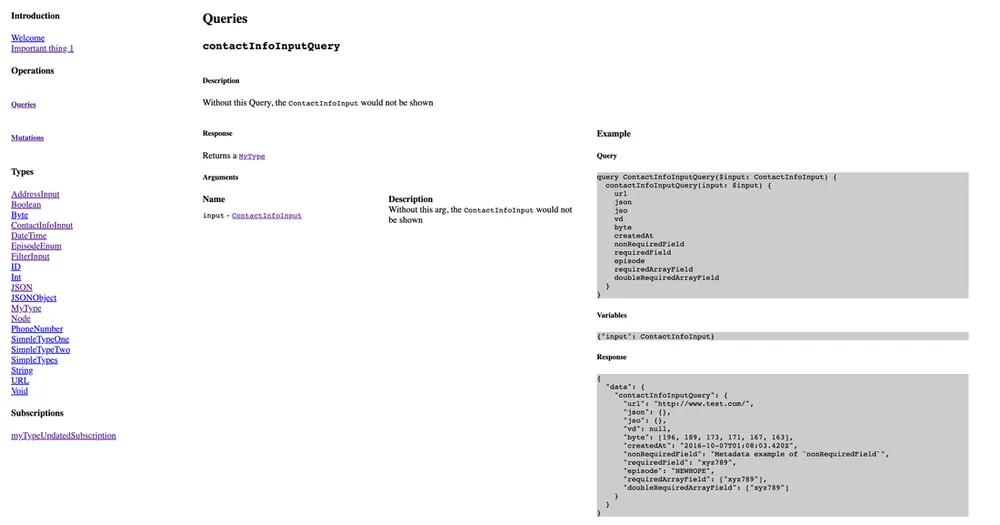
You can use custom.scss to override styles as well. For example, this box of arguments has a border that we'd like to get rid of.
 Oof, what an ugly border
A well placed border: none; fixes it:
// custom.scss
// ....Variable overrides

// Style rule overrides
#spectaql {
  .row-field-arguments .field-arguments {
    border: none;
  }
}
 No more border!
That's it! Only ~30 lines of code to significantly change the default theme.
For future reference, this dark theme is available for use in your own projects. The code is on GitHub at anvilco/spectaql-dark-theme and on NPM as spectaql-dark-theme. You can also check out the example node repo using spectaql-dark-theme.
Theme 1.1: Override syntax styles
In addition to the main styles, you may want to tweak the syntax highlighting colors. Styling the example code blocks works similarly to using custom.scss as described above. You'll add a new file called syntax-highlighting.scss. Once the new file is added, your theme's directory structure will look like this:
my-custom-theme/
└── stylesheets/
     ├── custom.scss
     └── syntax-highlighting.scss NEW!
SpectaQL uses Highlight.js to render code blocks and supports all of their themes. You can check out the theme demos then grab the whichever theme styles you'd like. By default, SpectaQL ships with the Monokai theme:
 Monokai: the default syntax theme
Paste the tomorrow night theme css into your syntax-highlighting.scss and voila, a fresh look:
 Tomorrow night syntax theme
Theme structure
A lot more customization is possible beyond the overrides described above. Before digging any deeper, it's helpful to understand how the theme system operates.
When you specify a theme directory to SpectaQL, the files contained in your directory will be overlaid on top of the default theme. That means when the system imports stylesheets/syntax-highlighting.scss and your theme directory contains a stylesheets/syntax-highlighting.scss file, it will use your file instead of the file from theme default theme.
The default theme is made up of several directories structured roughly like this:
default/
├── javascripts/
│
├── stylesheets/
│    ├── custom.scss
│    ├── syntax-highlighting.scss
│    └── main.scss
│
├── views/
│    ├── partials/
│    ├── main.hbs
│    └── embedded.hbs
│
└── helpers/
The default theme directory structure
In the dark theme we built in the previous sections, we specified a couple files: custom.scss and syntax-highlighting.scss. When generating the docs, our custom files were simply used instead of the files in the default theme.
my-custom-theme/
└── stylesheets/
     ├── custom.scss
     └── syntax-highlighting.scss
You can extend this concept to any files in the default theme—stylesheets of course, but also javascripts, views, and even helpers. You can even override main files for full control. For example you could create a directory structure with only main.scss:
my-custom-theme/
└── stylesheets/
     └── main.scss
This structure would totally replace all styles in the default theme with your own custom main.scss file.
Theme 2: Fully custom styling
It's possible that you want total control over styling—you don't want to override and undo a bunch of built-in styles. Let's use the structure described at the end of the last section:
my-custom-theme/
└── stylesheets/
     └── main.scss
Our main.scss can start out with very little in it:
// main.scss
#spectaql {
  background: white;
}
Well, it isn't very pretty, but you're the captain now!
 Custom theme with no styling at all
You can start from complete scratch like this if you want. However, SpectaQL provides a base.scss file with structural styling. Using it is super easy, just add @import 'base'; to your main file to get structural styling from the default theme. base.scss will set up the sidebar, mobile drawer styling, side-by-side code blocks, etc. but provide no visual styling.
// main.scss
@import 'base';

#spectaql {
  background: white;
}
Readable, but still not attactive!
 Custom main file using base.scss
base.scss contains a number of variables you can override. See base.scss for full details. For demo purposes, I'll just override the $code-background then import the default syntax-highlighting styles:
// main.scss

// Override variables from base
$code-background: #222222;

@import 'base';
@import 'syntax-highlighting';

#spectaql {
  background: white;
}
Alright, now we're cooking with gas:
 Custom theme using base and a syntax theme
At this stage you can do whatever you'd like. It may be useful to look at the styles from the default theme's main.scss, feel free to use bits of it in your own theme.
Overriding templates
So far, we've focused entirely on styling your theme. What if the HTML is not structured to your liking? Maybe you want to totally restructure the intro block? Maybe you don't like how resolver arguments are displayed? You can override templates just like you override stylesheets: by providing an override file in your custom theme for anything in the views directory.
As an example, let's restructure the introduction section. By default it looks like this:
 The default introduction section
The introduction and its side-by-side markup is controlled by the welcome.hbs handlebars template in the views/partials/layout/content/introduction directory. Custom themes can override anything in the views directory, so all we need to do is mirror this directory structure in our theme, then supply a new welcome.hbs:
my-custom-theme/
├── stylesheets/
│   └── custom.scss # Our custom style overrides
└── views/
    └── partials/
        └── layout/
            └── content/
                └── introduction/
                    └── welcome.hbs
Dir structure to override the welcome partial
<!-- views/partials/layout/content/introduction/welcome.hbs -->
<div id="welcome">
  {{md info.description}}
  <p>Custom HTML, I do what I want!</p>
</div>
Our new welcome partial
You can also create new partials and use them from your overridden template. Our docs could use a little spicing up, how about a kitten in a new partial:
my-custom-theme/
├── stylesheets/
│   └── custom.scss # Our custom style overrides
└── views/
    └── partials/
        └── layout/
            └── content/
                └── introduction/
                    ├── kitten.hbs # NEW!
                    └── welcome.hbs
A new kitten partial we'll use in the welcome template
<!-- views/partials/layout/content/introduction/welcome.hbs -->
<div id="welcome">
  {{md info.description}}
  <p>Custom HTML, I do what I want!</p>
  <!-- Import our new partial -->
  {{>layout/content/introduction/kitten}}
</div>
Using the new kitten partial in our welcome template
<!--
  views/partials/layout/content/introduction/kitten.hbs
  New template used by welcome.hbs
-->
<img src="https://placekitten.com/g/400/300" />
The new kitten partial HTML
And the final result:
 Cute, but you're about to get attacked
Overriding JavaScript
By default, SpectaQL outputs your docs with minimal JavaScript; there are only two behaviors: a menu toggler to open the navigation menu in mobile, and a scroll-spy to highlight the part of the navbar the user is viewing. These scripts are written in vanilla JavaScript with no dependencies. SpectaQL bundles them up into a single tiny JS file for easy importing.
Like stylesheets or templates, the site's JavaScript is part of a theme. You can customize the JavaScript bundle from your theme in two ways:
- By providing an extra JavaScript file with your new custom features.
- By overriding a JavaScript file from the default theme.
Adding a custom JavaScript file
SpectaQL will pull any files from your theme's javascripts directory into the bundle. This lets you keep the default nav toggle and scroll spy, but add your own custom behaviors with a brand new file. You can name new files anything you'd like—we'll use custom.js for consistency. With the new JS file, our theme's directory structure would look like this:
my-custom-theme/
├── stylesheets/
│   └── custom.scss
└── javascripts/
    └── custom.js # Name it anything you want!
And our new file
// javascripts/custom.js
console.log('Magically loaded')
Overriding an existing JavaScript file
You can also change behavior of the existing scripts by overriding any file in the javascripts directory. Maybe you want custom scroll spy behavior? You can provide your own javascripts/scroll-spy.js file:
my-custom-theme/
├── stylesheets/
│   └── custom.scss
└── javascripts/
    └── scroll-spy.js # Override the default scroll-spy
// javascripts/scroll-spy.js
function scrollSpy() {
  console.log('Custom spy')
}
Or maybe you want full control. You can override the entire bundle by specifying a main.js:
my-custom-theme/
├── stylesheets/
│   └── custom.scss
└── javascripts/
    └── main.js # Override the entire bundle
// javascripts/main.js
window.addEventListener('DOMContentLoaded', (event) => {
  console.log('I do what I want')
})
Fin.
That's it! Hopefully this post helps you get the most out of your theme. A major goal with SpectaQL 1.0 was simple customization. We wanted it to have a theme system allowing you generate docs that fit your style, vision, and brand with minimal effort.
If you have questions or issues, open an issue on SpectaQL or reach out to us at developers@useanvil.com. We'd love to hear from you!