Web application security is as old as web application development itself. The most straightforward way to secure any web application from unwanted traffic is by using firewalls. But there’s more than just one type of firewall. What most people think of is a layer 4 firewall, or a network firewall. Although network firewalls are great, they are not perfect because they only monitor network level traffic and many attacks are at the application level, over HTTP usually.
Web Application Firewalls (WAF) come into play here by monitoring application level (layer 7) traffic to prevent attacks like cookie manipulation, session fixation, and many more. Applications hosted on Kubernetes are no exception and can easily fall victim to these. That is why a WAF is a necessity in any production level Kubernetes system, and luckily most hosted Kubernetes services are easily integrated with WAFs.
In this article we will look at how we can apply Google Cloud Armor (Google's WAF) to a cluster hosted in Google Kubernetes Engine to limit access to a specific paths.
Network firewalls
Network firewalls, or those which only monitor traffic at the network layer, were invented in the 1980s and have made a lot of progress since, but remain more or less the same. These firewalls can be used to disable traffic on certain ports and IP ranges. Think of your application as a house and a network firewall being a guard that stands at the door. For example if you have an application under development and you only want users on your private network to have access to it, you can create a firewall rule to only allow access to your application server if the source IP is within your private network's subnet. Awesome! Network firewalls are great and cover almost all basic needs for limiting unwanted traffic. However, there are two major flaws.
The first flaw is a security risk we touched on earlier: application level network attacks. Let's go back to our guard at the door, again, they can control who comes in, and where they come in from, but they can't control what happens in the house after they have entered. For example denial of service (DDoS) attacks will not be blocked by a firewall. DDoS attacks are when malicious users will intentionally overload your system to bring down your servers and deny access for normal traffic. Because these attacks are still hitting public endpoints, there is no way for a network firewall to stop this.
Another potential attack could be SQL injection. This attack could happen at a login screen. Your application would be looking for a username and password which it would then verify against the database. A malicious user would know that these values will be run against your database, and instead pass a SQL statement. Your application would run that SQL statement against your database and return all the confidential information stored in your database to that attacker. Again, this attack is accessing the application on the proper network routes so there is no way that the firewall can stop it.
The second major flaw has come to light in recent years with the rise of cloud computing. Most modern systems are distributed, especially if you are running on Kubernetes. There is not a single application server, but several servers with different IP addresses constantly changing in your system. Because network firewalls are mapped by IP address, this means there is no way to be sure that the addresses in your firewall is correct. There are two classic solutions to this problem. Developers would either grant access to an entire subnet, but this subnet could run out of IP addresses, or worse, there could be a server within that IP range that should not be accessible but now is. The second solution would be route traffic through a load balancer and the firewall would only allow traffic from that load balancer. This is a better solution, but this load balancer is now a single point of failure and making any changes to it could cause a full outage.
Web application firewalls (WAF)
How do we protect our applications from these issues? Well, the solution is to monitor traffic at the application level. A WAF does just that by intercepting the requests going to your application. A WAF reads everything in an HTTP request like the endpoint, headers, and even data. Going back to our examples from before, a WAF can read the data in a request and reject anything with a SQL statement in it to prevent SQL injection. WAF's also have the ability to rate limit traffic, or reject requests if there are too many coming from the same IP address.
A practical example with Kubernetes
When we combine a WAF with Kubernetes, we are able to control traffic to specific services by limiting access to endpoints. In this example we will create a few Google Cloud Armor policies to limit traffic to our Google Kubernetes Engine Cluster based on the endpoint. Let's say we have an administration page that only users on our private network should have access to. A network firewall can't help us here because it cannot read what page you are hitting on a website. However with Google Cloud Armor, we can easily accomplish this.
First, we will create the policy. From the Google Cloud UI go to the menu on the left hand side > Networking > Network Security > Cloud Armor. Enable the API for cloud armor and then you will be able to create a new policy.
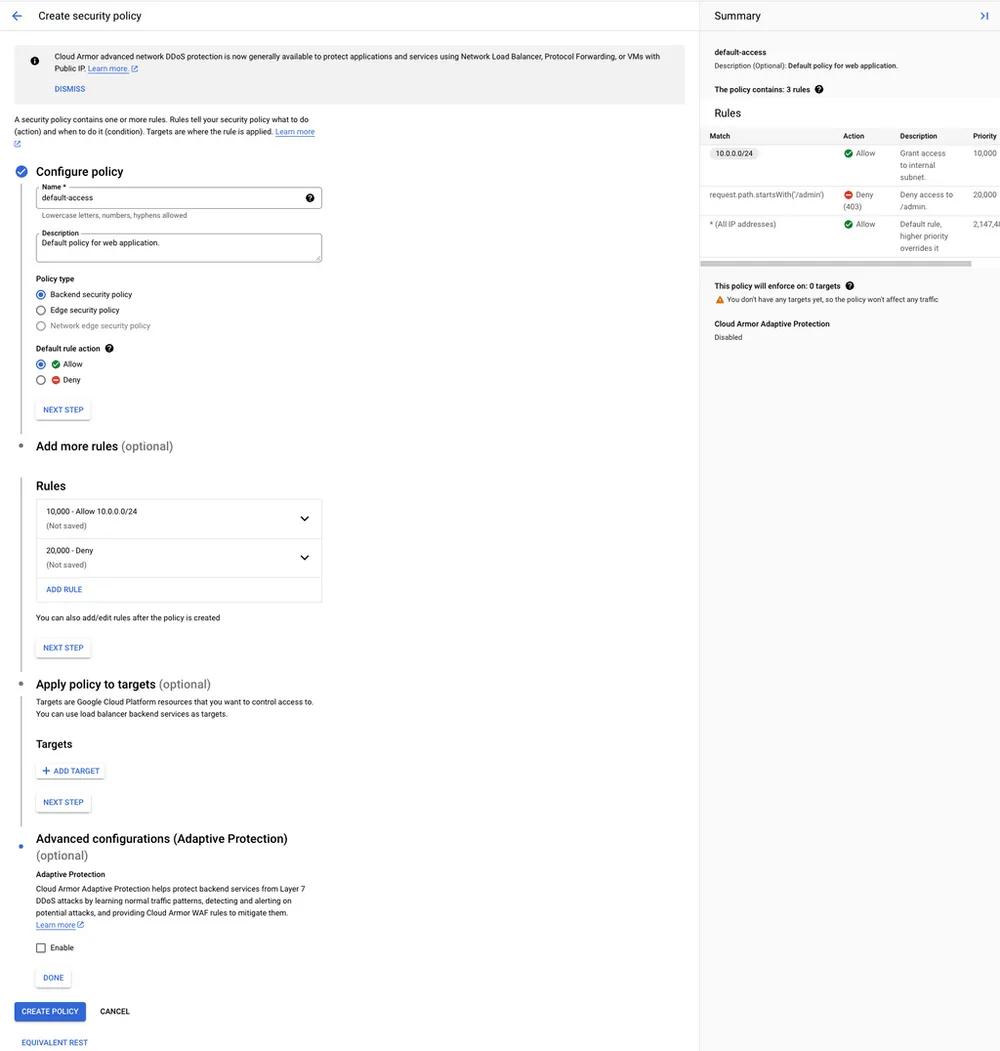 Cloud Armor policy creator from GCP console
Set the policy as a Backend security policy so it can be applied to a service. The Default rule action should be Allow since we only want to limit access to a certain endpoint, not the entire website.
Our first rule will grant users on the internal subnet access to the entire website which would include the /admin endpoint. We can use Basic mode to create this rule and just enter the internal subnet range we want to allow.
The next rule is to deny all traffic to the /admin endpoint. This must be set to a lower priority than the previous rule so it will not be applied to internal users. In order to create this rule we will need to use the Advanced mode and enter the following:
request.path.startsWith('/admin')
Then set the Action to Deny and the response code to 403.
Skip applying the policy to a target, we will do that from our Kubernetes manifest. Now click Create Policy and you're done with Google Cloud Armor! Now let's link our new policy to our load balancer. In order to do this in GKE, we need to create a BackendConfig resource. These allow us to configure the load balancers that GCP will create for us when we create a service. More information on these can be found in the ingress docs.
apiVersion: cloud.google.com/v1
kind: BackendConfig
metadata:
  name: example-nginx
  namespace: default
spec:
  securityPolicy:
    name: 'default-access' # The name of the policy we just created
And then in the service for our application, we will reference this BackendConfig.
apiVersion: v1
kind: Service
metadata:
  annotations:
    cloud.google.com/backend-config: '{"default": "example-nginx"}' # Name of the backend config
  labels:
    app: example-nginx
  name: example-nginx
  namespace: default
spec:
  ports:
    - name: http-nginx
      port: 80
      protocol: TCP
      targetPort: 80
  selector:
    app: example-nginx
  type: ClusterIP
And that's it! Now when we deploy our application the example-nginx policy will be applied! Below is the deployment and ingress for reference although no changes need to be made to them for application of the cloud armor policy.
apiVersion: apps/v1
kind: Deployment
metadata:
  name: example-nginx
  namespace: default
spec:
  selector:
    matchLabels:
      app: example-nginx
  strategy:
    type: Recreate
  template:
    metadata:
      labels:
        app: example-nginx
    spec:
      containers:
        - image: nginxdemos/hello
          imagePullPolicy: Always
          name: nginx
          ports:
            - containerPort: 80
              name: http-nginx
              protocol: TCP
  replicas: 1
---
apiVersion: networking.k8s.io/v1
kind: Ingress
metadata:
  name: example-nginx
  namespace: default
spec:
  defaultBackend:
    service:
      name: example-nginx
      port:
        name: http-nginx
Once we apply everything to our cluster, we will see this at the homepage:
 App landing page
For that matter, any random page works:
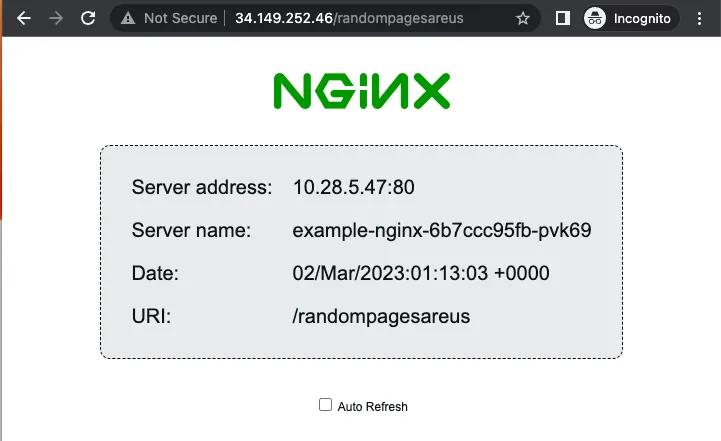 Random path
Except for the admin page where we are seeing, as expected, a 403:
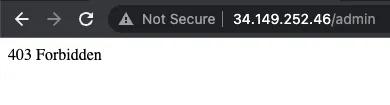 Admin page from public network
And finally, if I log into our company's VPN and access the application from the internal network, we can see the admin page!
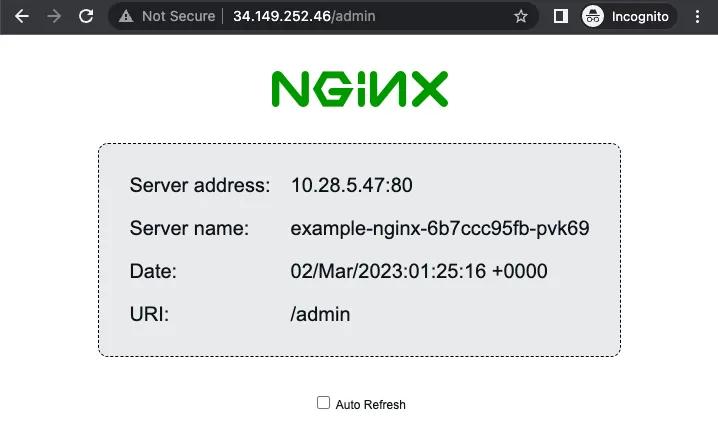 Admin page from internal network
We can also go back to the Google Cloud Console and see that a target has been added to our cloud armor policy:
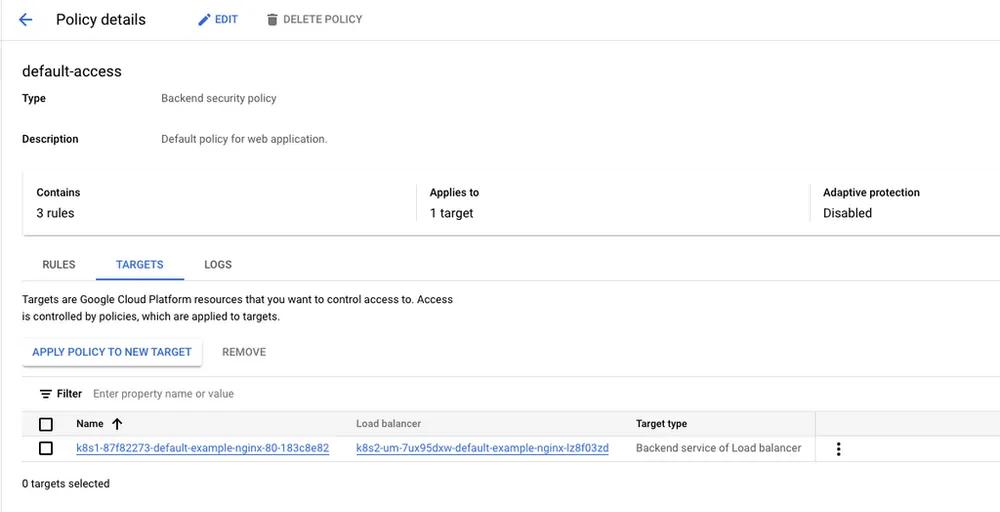 Policy targets from GCP console
Conclusion
Network firewalls are great, but with modern distributed systems and new methods of hacking a web application framework is a must have. Large cloud providers, like Google or AWS, offer web application firewalls that can be easily integrated into cloud applications. If your application is running on Kubernetes then that integration can be even smoother.
If your application was a bridge, the toll officer would be a network firewall and the officer patroling traffic on the bridge itself would be the WAF. The toll officer is in charge of traffic getting onto the bridge from the correct entrance, and enforces certain criteria to be met before entering (paying the toll). However, someone can pay the toll and then immediately block all lanes of traffic. That's where the officer on the bridge (WAF) comes in. The patrolling officer can make sure that traffic is actually running smoothly and enforce rules for actions on the bridge itself (speeding, obstructing traffic, etc.).
Visit the official Google Cloud Armor documentation for more information on everything discussed in this article.