

A central feature of Anvil is AI-powered document Workflows. Workflows allow you to collect data from your users via a simple, dynamic webform, automatically fill PDFs with the user's data, then gather e-signatures from relevant people.
For example, say we wanted our client to sign an NDA. We can give our client an easy webform to fill:
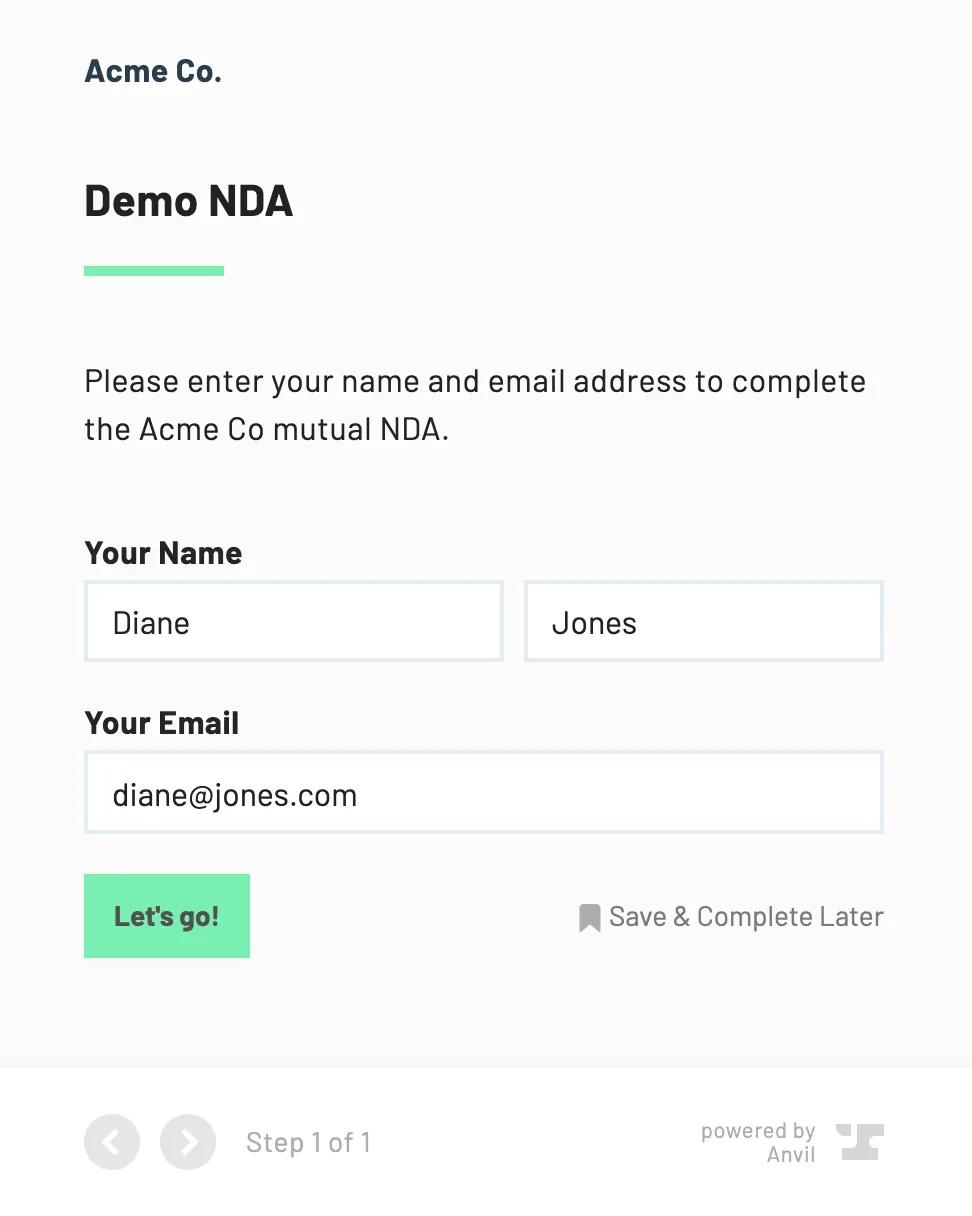
When the client is finished filling the embedded webform, it will fill the NDA with their information, then ask them to sign:
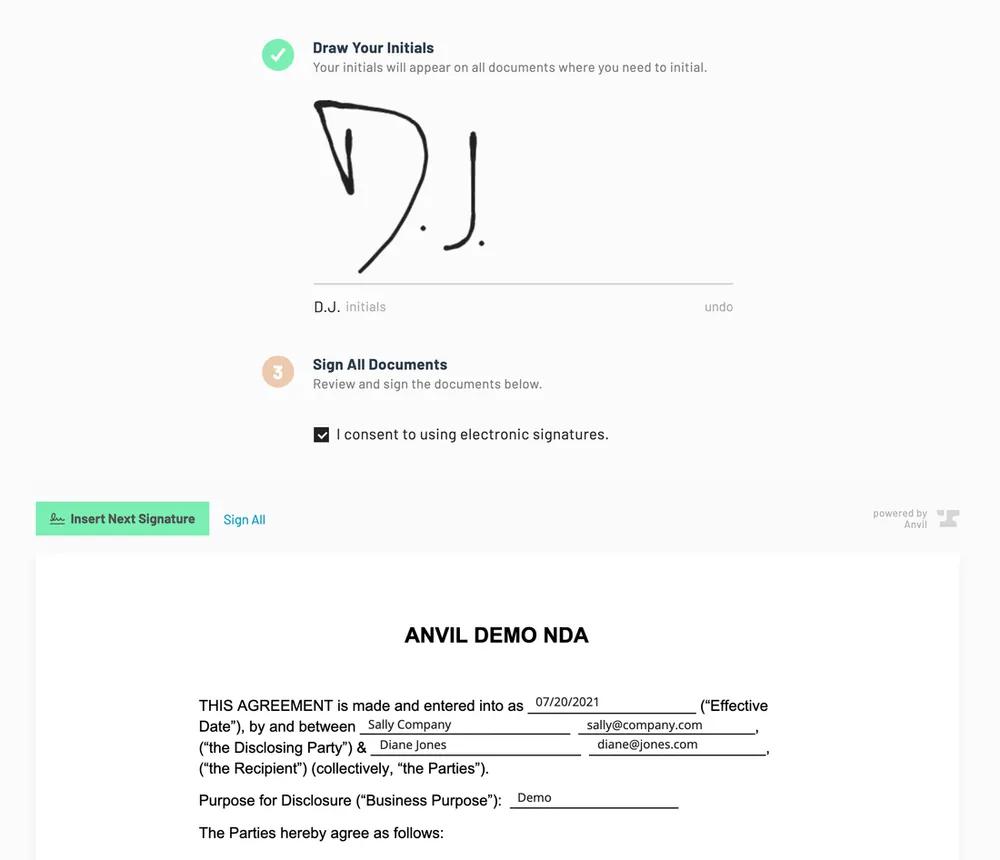
You can embed this entire process in an iframe on your app or website. That way, you control the experience; your user does not need to leave your site to fill and sign our hypothetical NDA.
In this post, I'll show you how to
- Embed the webform filling and signature UIs in your app or website
- Start Workflows
- Have your app notified when actions take place. For example, when the user submits a page, or completes the Workflow
- Download the documents when the user is finished
Embedding the form in an iframe
First, sign up for Anvil, then enable embedding for your app. Once enabled, embedding the webform UI in an iframe is easy. All you need to do is point the src attribute at your Workflow's webform URL.
<iframe
  src="https://app.useanvil.com/form/demo/client-nda/nA1ORcANs4MXAQ83KsdY"
></iframe>
And you will see the form inside your own app:
Starting a Workflow
There are two ways to start a Workflow submission for one of your users:
- Embedding a special URL to kick off a new submission
- Creating a Workflow submission via the API
Option 1: Embed a special URL
Embedding a form URL without an ID will create a new Workflow submission (a WeldData). This approach is the easiest way to get a Workflow submission started and seeded with your own data.
In our case, our iframe URL would look like this:
<iframe
  src='https://app.useanvil.com/form/demo/client-nda?d={"name":"Sally Jones"}'
></iframe>
Note the d param, it will seed the new Workflow submission with data from your system. See the Workflow UI URLs docs for all the options available.
Option 2: Create a Workflow submission via the API
An alternative to creating a Workflow submission with a special URL is starting the Workflow with the GraphQL API, then embedding the resultant webform URL. This approach is a little more complex, but gives you full control over the submission.
Often customers with complex Workflows use the API method to start Workflows because it allows for more flexibility. With the API method, you can specify a specific webhookURL for the Workflow submission, seed multiple webforms in a Workflow, and more.
To create a Workflow submission, use the forgeSubmit mutation. Our node API client supports the forgeSubmit mutation out of the box:
// Uses the Anvil client, see https://github.com/anvilco/node-anvil
const result = await anvilClient.forgeSubmit({
  variables: {
    forgeEid: forge.eid, // your webform's eid
    complete: false,
    isTest: false,
    // Seed the submission with data here...
    payload: {
      name: Sally Jones,
    },
  },
})

// You will embed the resulting `weldData.continueURL` in the iframe
const responseData = result.data.data.forgeSubmit
const embedURL = responseData.weldData.continueURL
Then in the HTML, you would use embedURL in the iframe's src attribute:
<iframe src={embedURL}></iframe>
See the forgeSubmit docs for more information on using forgeSubmit. The basic mutation call used above to start a Workflow is as follows:
mutation ForgeSubmit(
  $forgeEid: String!,
  $weldDataEid: String,
  $submissionEid: String,
  $payload: JSON!,
  $complete: Boolean,
  $isTest: Boolean,
  $webhookURL: String,
) {
  forgeSubmit (
    forgeEid: $forgeEid,
    weldDataEid: $weldDataEid,
    submissionEid: $submissionEid,
    payload: $payload,
    complete: $complete,
    isTest: $isTest,
    webhookURL: $webhookURL,
  ) {
    eid
    weldData {
      eid
      continueURL
    }
  }
}
Anvil React components
We've created an AnvilEmbedFrame React component to aid embedding Workflows into your application.
import AnvilEmbedFrame from '@anvilco/anvil-embed-frame'
;<AnvilEmbedFrame
  iframeURL={webformEmbedURL}
  onEvent={(event) => console.log('Event object:', event)}
  className="anvil-embed-frame"
/>
Getting notified
Your app can be notified when a user takes an action in two ways:
- JavaScript events from the
iframeto the parent frame - Webhook notifications
Events from the iframe
For some actions, the iframe will emit events that your parent frame can capture. These events will help you know when the user is finished filling a page, finished with the webform, and finished signing.
On the page that renders the iframe element, you can subscribe to the window's message event. The events emitted by the iframe should provide you with all ids you need to query our system for the user's submitted data.
window.addEventListener('message', ({ origin, data: eventData }) => {
  if (origin !== 'https://app.useanvil.com') return
  // eventData will be an object in one of the formats
  //
  // {
  //   action: 'forgeSubmitPage',
  //   organizationSlug: 'my-org'
  //   weldDataEid: 'bdwIX5TUiLBzldgdwzL2',
  //   forgeEid: 'wIX5TUiLBzldgdwzL2bd',
  //   submissionEid: 'X5TUiLBzldgdwzL2bdwI',
  //   pageId: 'somePageId',
  // }
  //
  // OR
  //
  // {
  //   action: 'forgeComplete',
  //   organizationSlug: 'my-org'
  //   weldDataEid: 'bdwIX5TUiLBzldgdwzL2',
  //   forgeEid: 'wIX5TUiLBzldgdwzL2bd',
  //   submissionEid: 'X5TUiLBzldgdwzL2bdwI',
  // }
})
Events from AnvilEmbedFrame
The AnvilEmbedFrame React component will emit the events described above in the component's onEvent handler:
import AnvilEmbedFrame from '@anvilco/anvil-embed-frame'
;<AnvilEmbedFrame
  iframeURL={webformEmbedURL}
  onEvent={(eventData) => {
    // eventData is the same as described above!
    //
    // {
    //   action: 'forgeSubmitPage', 'forgeComplete', etc.,
    //   ...others,
    // }
  }}
/>
Webhook notifications
On the server side, you can receive webhook notifications for several actions—Anvil will POST to an endpoint on your server. You can set up a global webhook URL in your organization's settings, or you can set a per-object webhook URL for each Workflow submission. In either case, your webhook URLs will receive the same event payloads.
The most important actions for Workflow embedding are:
forgeComplete- A user completes a webformsignerComplete- A signer finishes signing all of their documentsweldComplete- The Workflow submission is completely finished, all webforms have been completed, and all signers have finished signing
See the webhooks guide for more information on handling webhooks.
Downloading the documents
When all forms have been filled, and all signers have signed, it's time to download the documents. Download them in zip format with the following URL:
https://app.useanvil.com/download/:weldDataEid.zip
If you are using one of our API clients, this is easy with the downloadDocuments() function. Here's an example using our NodeJS client:
const weldDataEid = request.data.eid
const zipResponse = await anvilClient.downloadDocuments(weldDataEid)
fs.writeFileSync('workflowDocuments.zip', zipResponse.data)
See the full details of downloading documents in the Workflow API docs.
You’ve embedded workflows into your app – now what?
That's it! Now you have all the tools to embed Workflows into your application or website, get notified when something happens, and download the finished documents.
Note that if you are already collecting your client's information with your own webforms, you can use the Etch e-sign to fill PDFs with your data, create signature packets, and embed the e-signing UI in your app, all in one flow.
Sign up for an account or book a demo to learn more about Anvil Workflows.
Further reading
- See the Workflow API guide.
- White label your Webforms with a custom stylesheet for a seamless experience within your app!
If you have questions please do not hesitate to contact us at: support@useanvil.com