If you have integrated a REST e-signature API like DocuSign or Dropbox Sign, everything you already know maps directly onto Anvil. This guide shows the Anvil equivalent of each request pattern you are used to, with copy-pasteable code.
Two things up front:
- You do not need to learn GraphQL to use Anvil. PDF filling and generation are plain REST endpoints, document downloads are plain REST endpoints, and the SDKs wrap e-signature operations in ordinary methods.
- Test mode is free and unlimited on every plan. There is no sandbox account to request and nothing to pay while you build. See development and test mode.
The mental model
You are used to (REST) | Anvil equivalent |
|---|---|
Base URL + resource paths | One URL for everything: |
API key in an | Same. |
|
|
|
|
Embedded signing URL endpoint |
|
Webhook with event payloads | Same shape: Anvil |
Sandbox / test mode |
|
Rate limit headers | Same idea: |
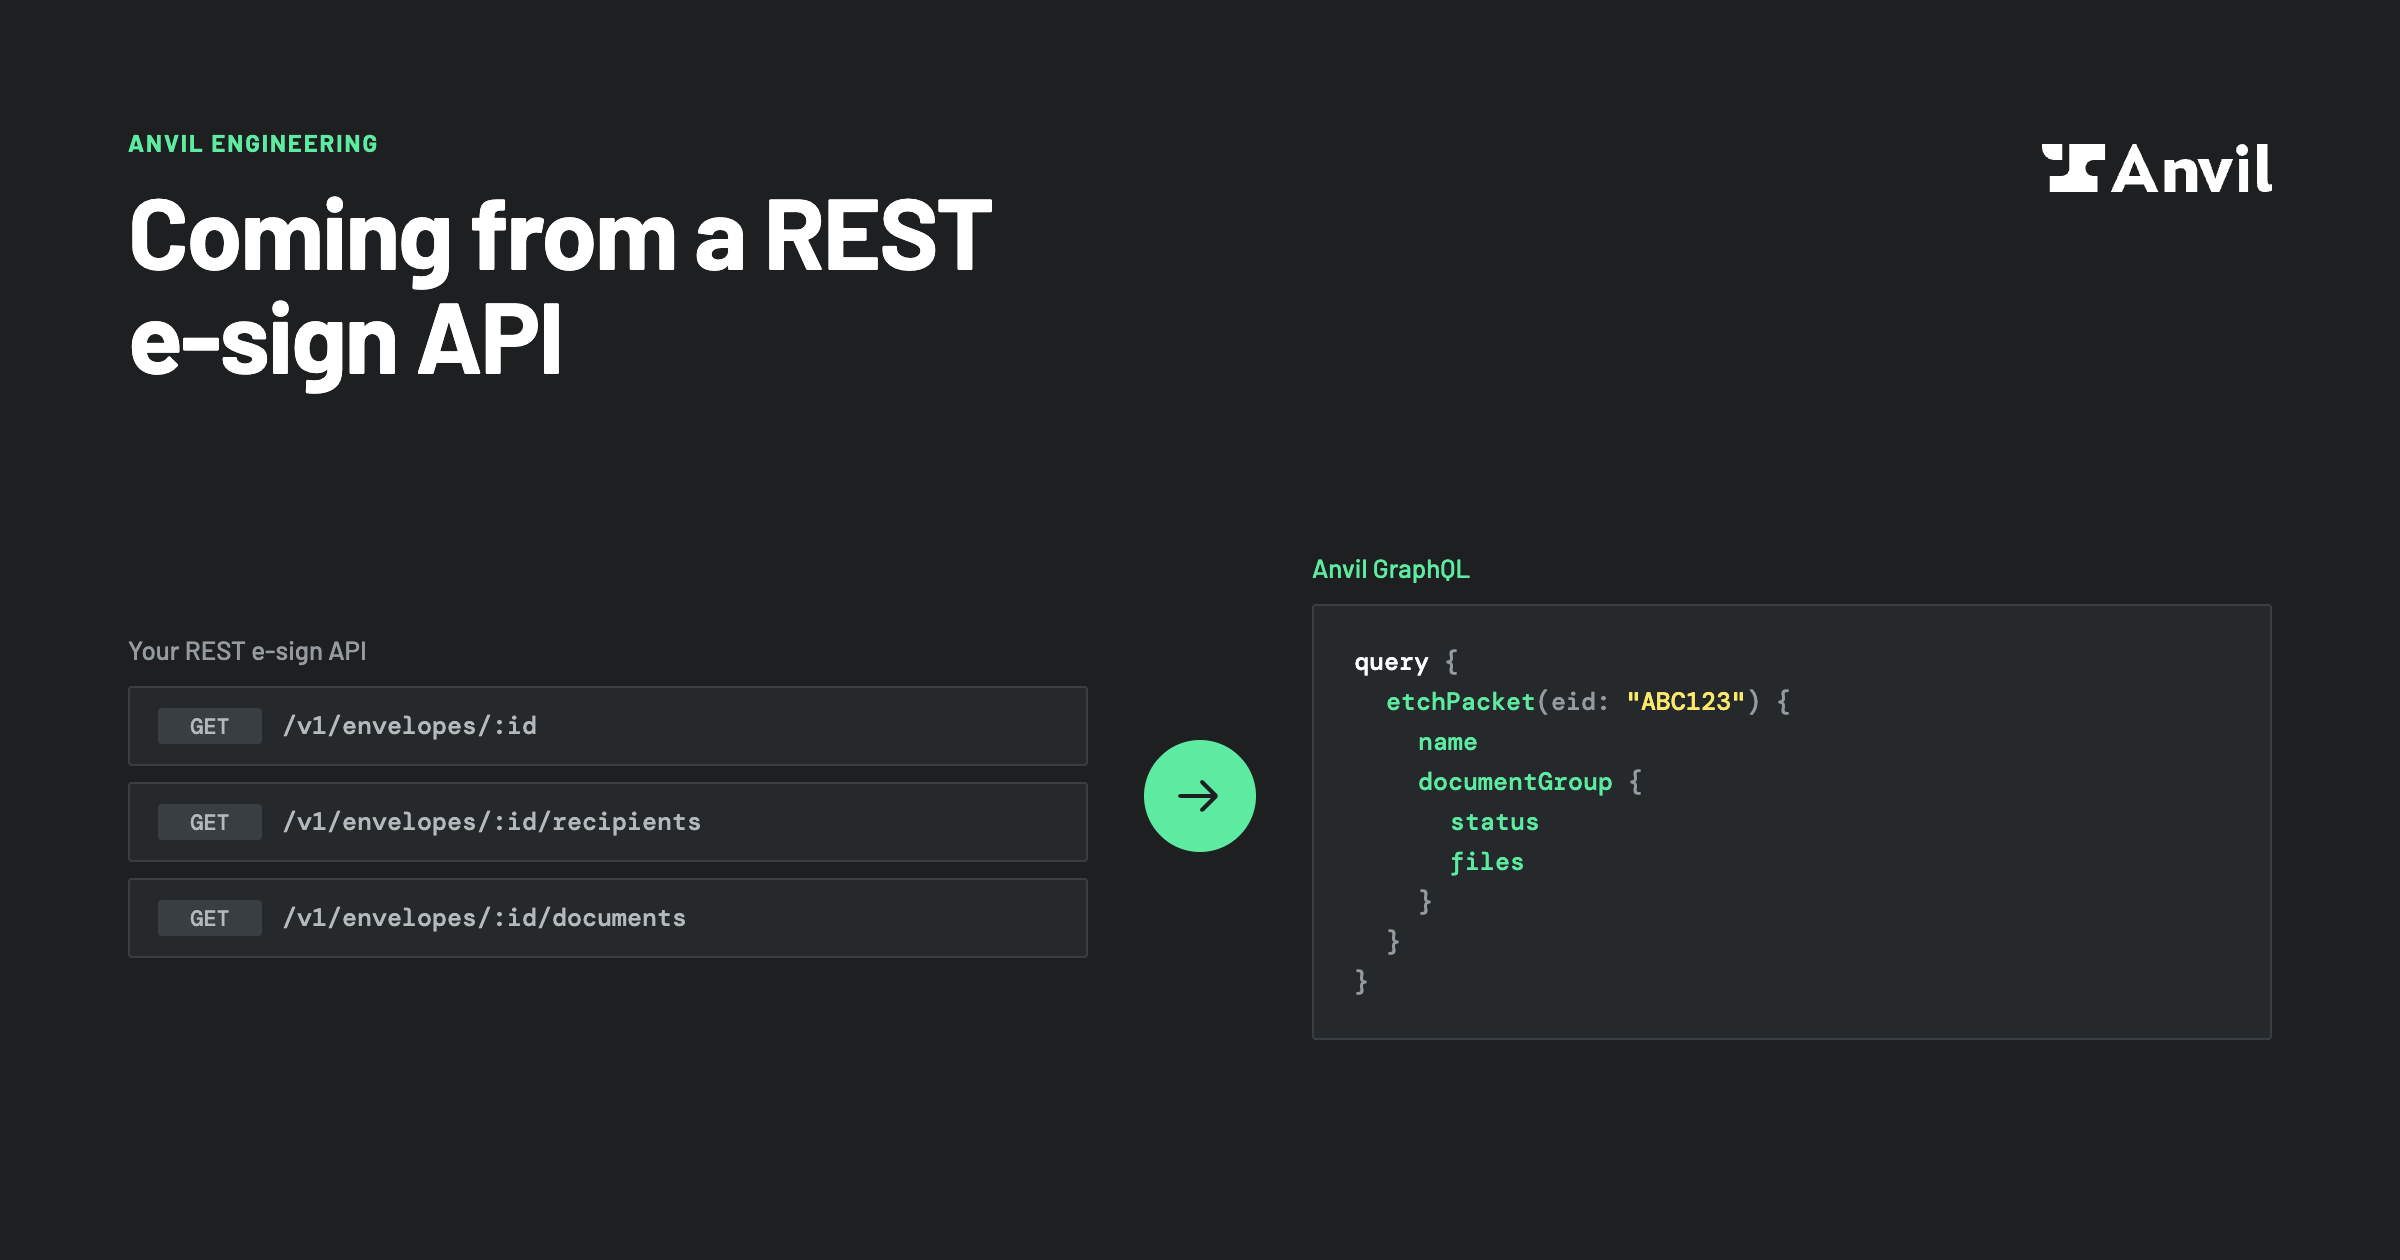
The main difference: instead of a different URL per resource, you POST to a single endpoint and name the operation in the JSON body. The response contains exactly the fields you ask for, so there is no over-fetching and no follow-up requests to assemble one object.
Pattern 1: Create a signature request
With a REST e-sign API, you POST a JSON body describing documents and signers. Anvil is the same request with one extra top-level wrapper. Using the Node.js client:
const Anvil = require('@anvilco/anvil')

const anvilClient = new Anvil({ apiKey })

const { data } = await anvilClient.createEtchPacket({
  variables: {
    name: 'NDA for Sally Jones',
    isTest: true, // free test packet; remove to send a live packet
    isDraft: false,
    files: [
      {
        id: 'ndaTemplate',
        castEid: 'YOUR_PDF_TEMPLATE_EID',
      },
    ],
    data: {
      payloads: {
        ndaTemplate: {
          data: {
            recipientName: 'Sally Jones',
            recipientEmail: 'sally@example.com',
          },
        },
      },
    },
    signers: [
      {
        id: 'signer1',
        name: 'Sally Jones',
        email: 'sally@example.com',
        signerType: 'embedded', // you control the signing experience
        fields: [
          {
            fileId: 'ndaTemplate',
            fieldId: 'recipientSignature',
          },
        ],
      },
    ],
  },
})
The same call as raw HTTP is a single POST with a JSON body, the mechanics you already use for every REST call:
curl -X POST https://graphql.useanvil.com \
  -u "$ANVIL_API_KEY:" \
  -H 'Content-Type: application/json' \
  -d '{
    "query": "mutation CreateEtchPacket ($name: String, $isTest: Boolean, $files: [EtchFile!], $data: JSON, $signers: [JSON!]) { createEtchPacket (name: $name, isTest: $isTest, files: $files, data: $data, signers: $signers) { eid name detailsURL documentGroup { eid status signers { eid name } } } }",
    "variables": {
      "name": "NDA for Sally Jones",
      "isTest": true,
      "files": [{ "id": "ndaTemplate", "castEid": "YOUR_PDF_TEMPLATE_EID" }],
      "data": { "payloads": { "ndaTemplate": { "data": { "recipientName": "Sally Jones" } } } },
      "signers": [{ "id": "signer1", "name": "Sally Jones", "email": "sally@example.com", "signerType": "embedded", "fields": [{ "fileId": "ndaTemplate", "fieldId": "recipientSignature" }] }]
    }
  }'
The query string names the operation and lists the response fields you want back. That is the entire GraphQL learning curve for this integration.
See the e-signatures guide for the full set of packet options, and the quick start for a runnable script.
Pattern 2: Generate an embedded signing URL
Equivalent to an embedded signing session endpoint. Signers with signerType: "embedded" are not emailed; you generate a signing URL when your user is ready:
const { url } = await anvilClient.generateEtchSignUrl({
  variables: {
    signerEid: 'SIGNER_EID', // from the createEtchPacket response
    clientUserId: 'user-123', // the signer's user id in your system
  },
})
The URL carries a short-lived token (2 hours by default, configurable), so generate it at the moment of signing and redirect or embed immediately. Details and the recommended flow are in controlling the signature process.
Pattern 3: Embed the signing UI
Drop the signing URL into an iframe, the same way you embed any e-sign provider's signing session:
<iframe src={signUrl} />Anvil posts events (load, signer complete, errors) to the parent frame. We also publish @anvilco/anvil-embed-frame, a small React component that wires the events up for you. See embedding the signing UI in an iframe.
Pattern 4: Get notified when signing completes
Anvil webhooks behave like the REST webhooks you know: Anvil POSTs JSON to your URL, you verify a token, you respond 200. The verification token arrives as a field in the JSON body, and data arrives encrypted with your organization's RSA key:
// POST from Anvil to your webhook URL
{
  action: 'signerComplete',
  token: '38Gp2vP47zdj2WbP1sWdkO2pA7ySmjBk',
  data: { ... }
}
Subscribe to signerComplete and etchPacketComplete for the embedded signing flow. Decrypt the data payload with @anvilco/encryption. See the webhooks guide for the full event list, retries, and payload shapes.
Pattern 5: Download the signed documents
Downloads are plain REST GETs with the same Basic auth:
# Zip of all documents in the packet
GET https://app.useanvil.com/api/document-group/${documentGroupEid}.zip

# A single document
GET https://app.useanvil.com/api/document-group/${documentGroupEid}/${filename}
Or anvilClient.downloadDocuments(documentGroupEid) in the SDKs. See downloading documents.
Testing without limits
Add isTest: true to your createEtchPacket mutation variables, or use your development API key (packets created with the dev key are in test mode automatically), and the whole flow above runs free: watermarked documents, red signatures, nothing billed, nothing counted against a quota, and no cap on how many test packets you create. Every account has it, including the free plan. See testing your packet configuration.
When you outgrow the basics
Everything the Anvil UI can do is available over the API. When you need more than the patterns above, updating signers, progressive signing, white labeling, or fetching any object in the system, the GraphQL guide and API reference cover the full surface. And the request mechanics never change: one POST, one JSON body, the fields you ask for.
Questions while migrating? Email support@useanvil.com and mention the provider you are coming from.